In cPanel, the term “Add Packages” may refer to creating and configuring hosting packages or plans with predefined settings for resources and features. These packages are then used when creating new hosting accounts. It’s a way to streamline the process of setting up hosting accounts by applying standardized configurations.
In cPanel, you don’t typically add packages directly, but you can manage features and resources for hosting accounts using packages. Here’s a general guide on how to create and manage packages in cPanel:
Table of Contents
Add a package in cPanel
Log in to cPanel:
Open your web browser and navigate to your cPanel login page (usually, it’s https://yourdomain.com/cpanel).
Enter your cPanel username and password to log in.
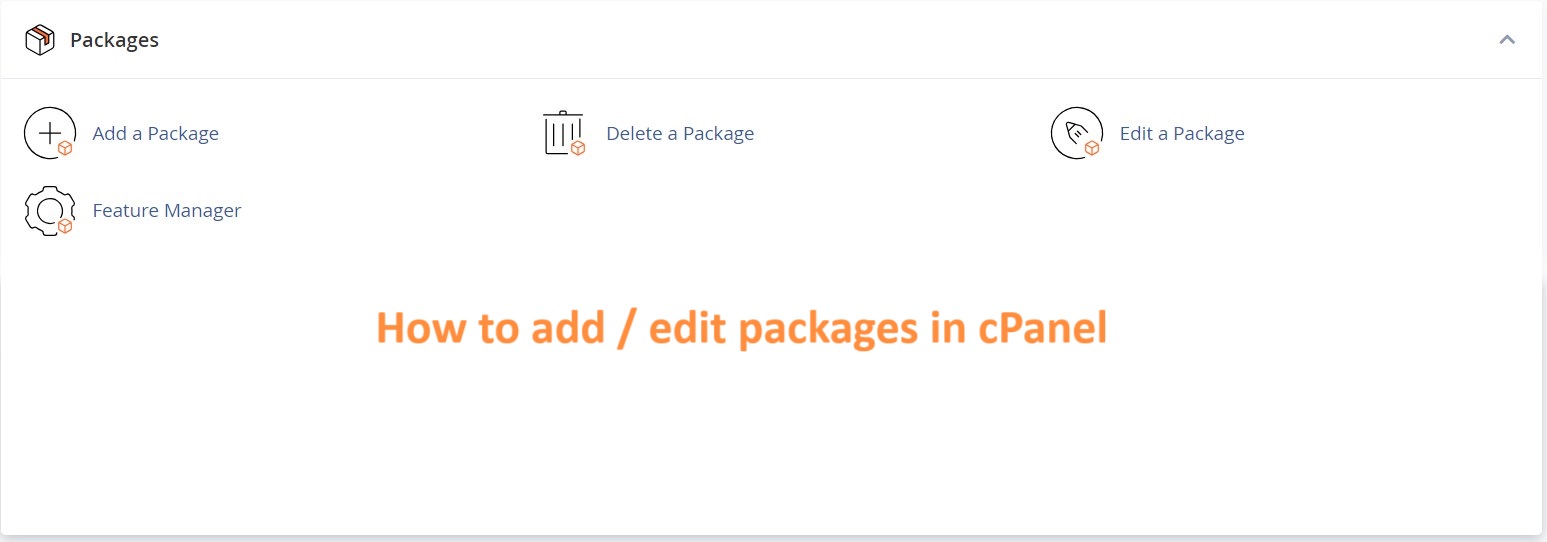
Navigate to “Packages”:
Once logged in, look for the “Packages” or “Package Manager” icon in the cPanel dashboard. The exact location may vary depending on your cPanel theme.

Create a New Package:
In the Package Manager, there should be an option to create a new package. Click on it.
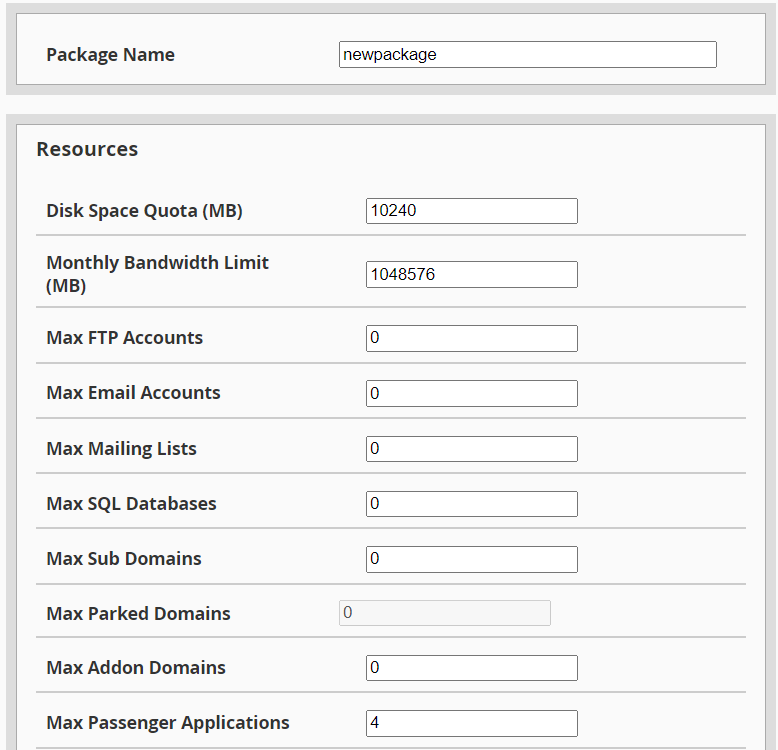
Configure Package Settings:
Provide a name for the package.
Set the resources and features for the package. This includes disk space, bandwidth, FTP accounts, email accounts, databases, etc. Adjust the values based on your hosting plan.
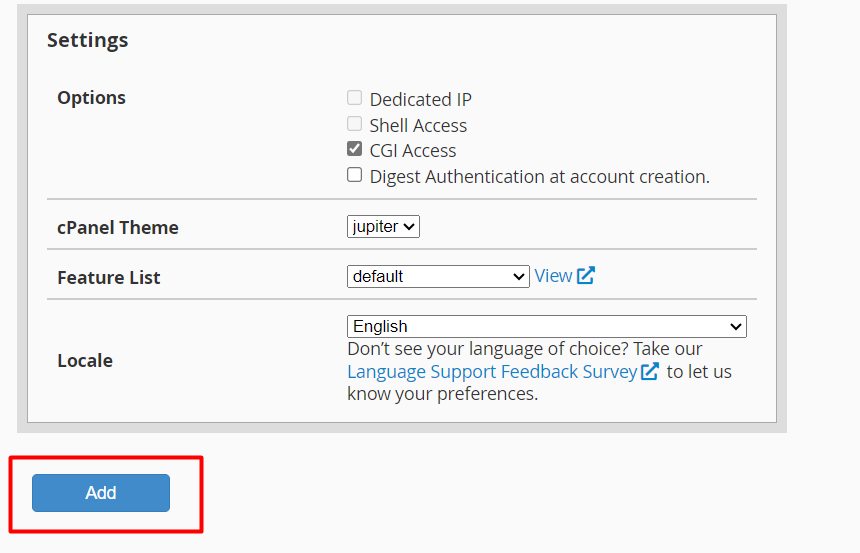
Save the Package:
After configuring the package settings, save the package. This will create a predefined set of resources and features that you can assign to hosting accounts.
Assign Package to an Account:
Now, go back to the cPanel dashboard and find the “Account Information” or “Account Functions” section.
Look for the option to “Create a New Account” or “Add a New Account.”
Fill in the required details for the new hosting account, and during this process, you should be able to select the package you created.
Complete the Process:
Complete the account creation process, and the new hosting account will be associated with the package you specified.
This way, you are indirectly adding packages by creating predefined sets of resources and features, and then assigning those packages to individual hosting accounts.
Edit a package in cPanel
Please note that the specific steps might vary slightly depending on the cPanel version and theme your hosting provider is using. If you’re unsure, you may want to refer to your hosting provider’s documentation or contact their support for assistance.
To edit a package in cPanel, you’ll need to modify the existing package settings. Here’s a step-by-step guide:
Log in to cPanel:
Open your web browser and navigate to your cPanel login page (usually, it’s https://yourdomain.com/cpanel).
Enter your cPanel username and password to log in.
Navigate to “Packages” or “Package Manager”:
Look for the “Packages” or “Package Manager” icon in the cPanel dashboard. The exact location may vary depending on your cPanel theme.

Find the Package to Edit:
In the Package Manager, you should see a list of existing packages. Locate the package you want to edit.
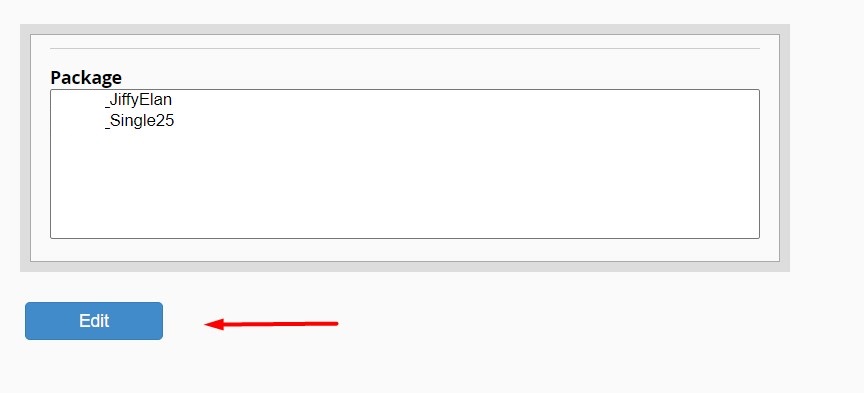
Edit the Package:
There should be an option to edit the package settings. Click on it.
Adjust Settings:
You’ll see the current settings for the package, including resource limits and features. Modify the values as needed. You can change disk space, bandwidth, email accounts, databases, and other parameters.
Save Changes:
After making the necessary adjustments, save the changes. There might be a “Save” or “Update” button at the bottom of the page.
Confirm Changes:
Confirm any prompts or warnings that appear. Some changes might affect existing hosting accounts associated with the package.
Verify Changes:
To ensure that the changes took effect, you can go back to the Package Manager and review the updated settings for the package.
Keep in mind that changing package settings may impact the hosting accounts associated with that package. For example, if you increase resource limits, it might affect the available resources for existing hosting accounts.


